Table of Contents
The Raspberry Pi is a small computer that also acts as a wifi transmitter, with no internet connection. We use it to provide files from the PARADISEC collection, but it can be used by anyone who wants to make digital material available via wifi in a small area, for people on mobile devices, like phones.
Setting up a Raspberry Pi as a repatriation device
Hardware Requirements
- A raspberry Pi 3 model B+
- Power supply
- Case
- 16 GB MicroSD Card (Class 10) – Raspberry Pi Foundation Sourced MicroSD Card with NOOBS
- HDMI Cable
- A USB disk to hold the data
Typically you would purchase this in a kit like this one. Note that the USB disk is purchased separately.
One Time Operating System Setup
Following assembly of the device connect a monitor using the HDMI cable and a USB keyboard and mouse. You will also need to connect the device to the network using an Ethernet cable. Following this, plug in the power cord and watch the boot sequence; you will need to press and hold the shift key (there will be a message on screen telling you this) to get in to the installation sequence. The installation menu looks like:
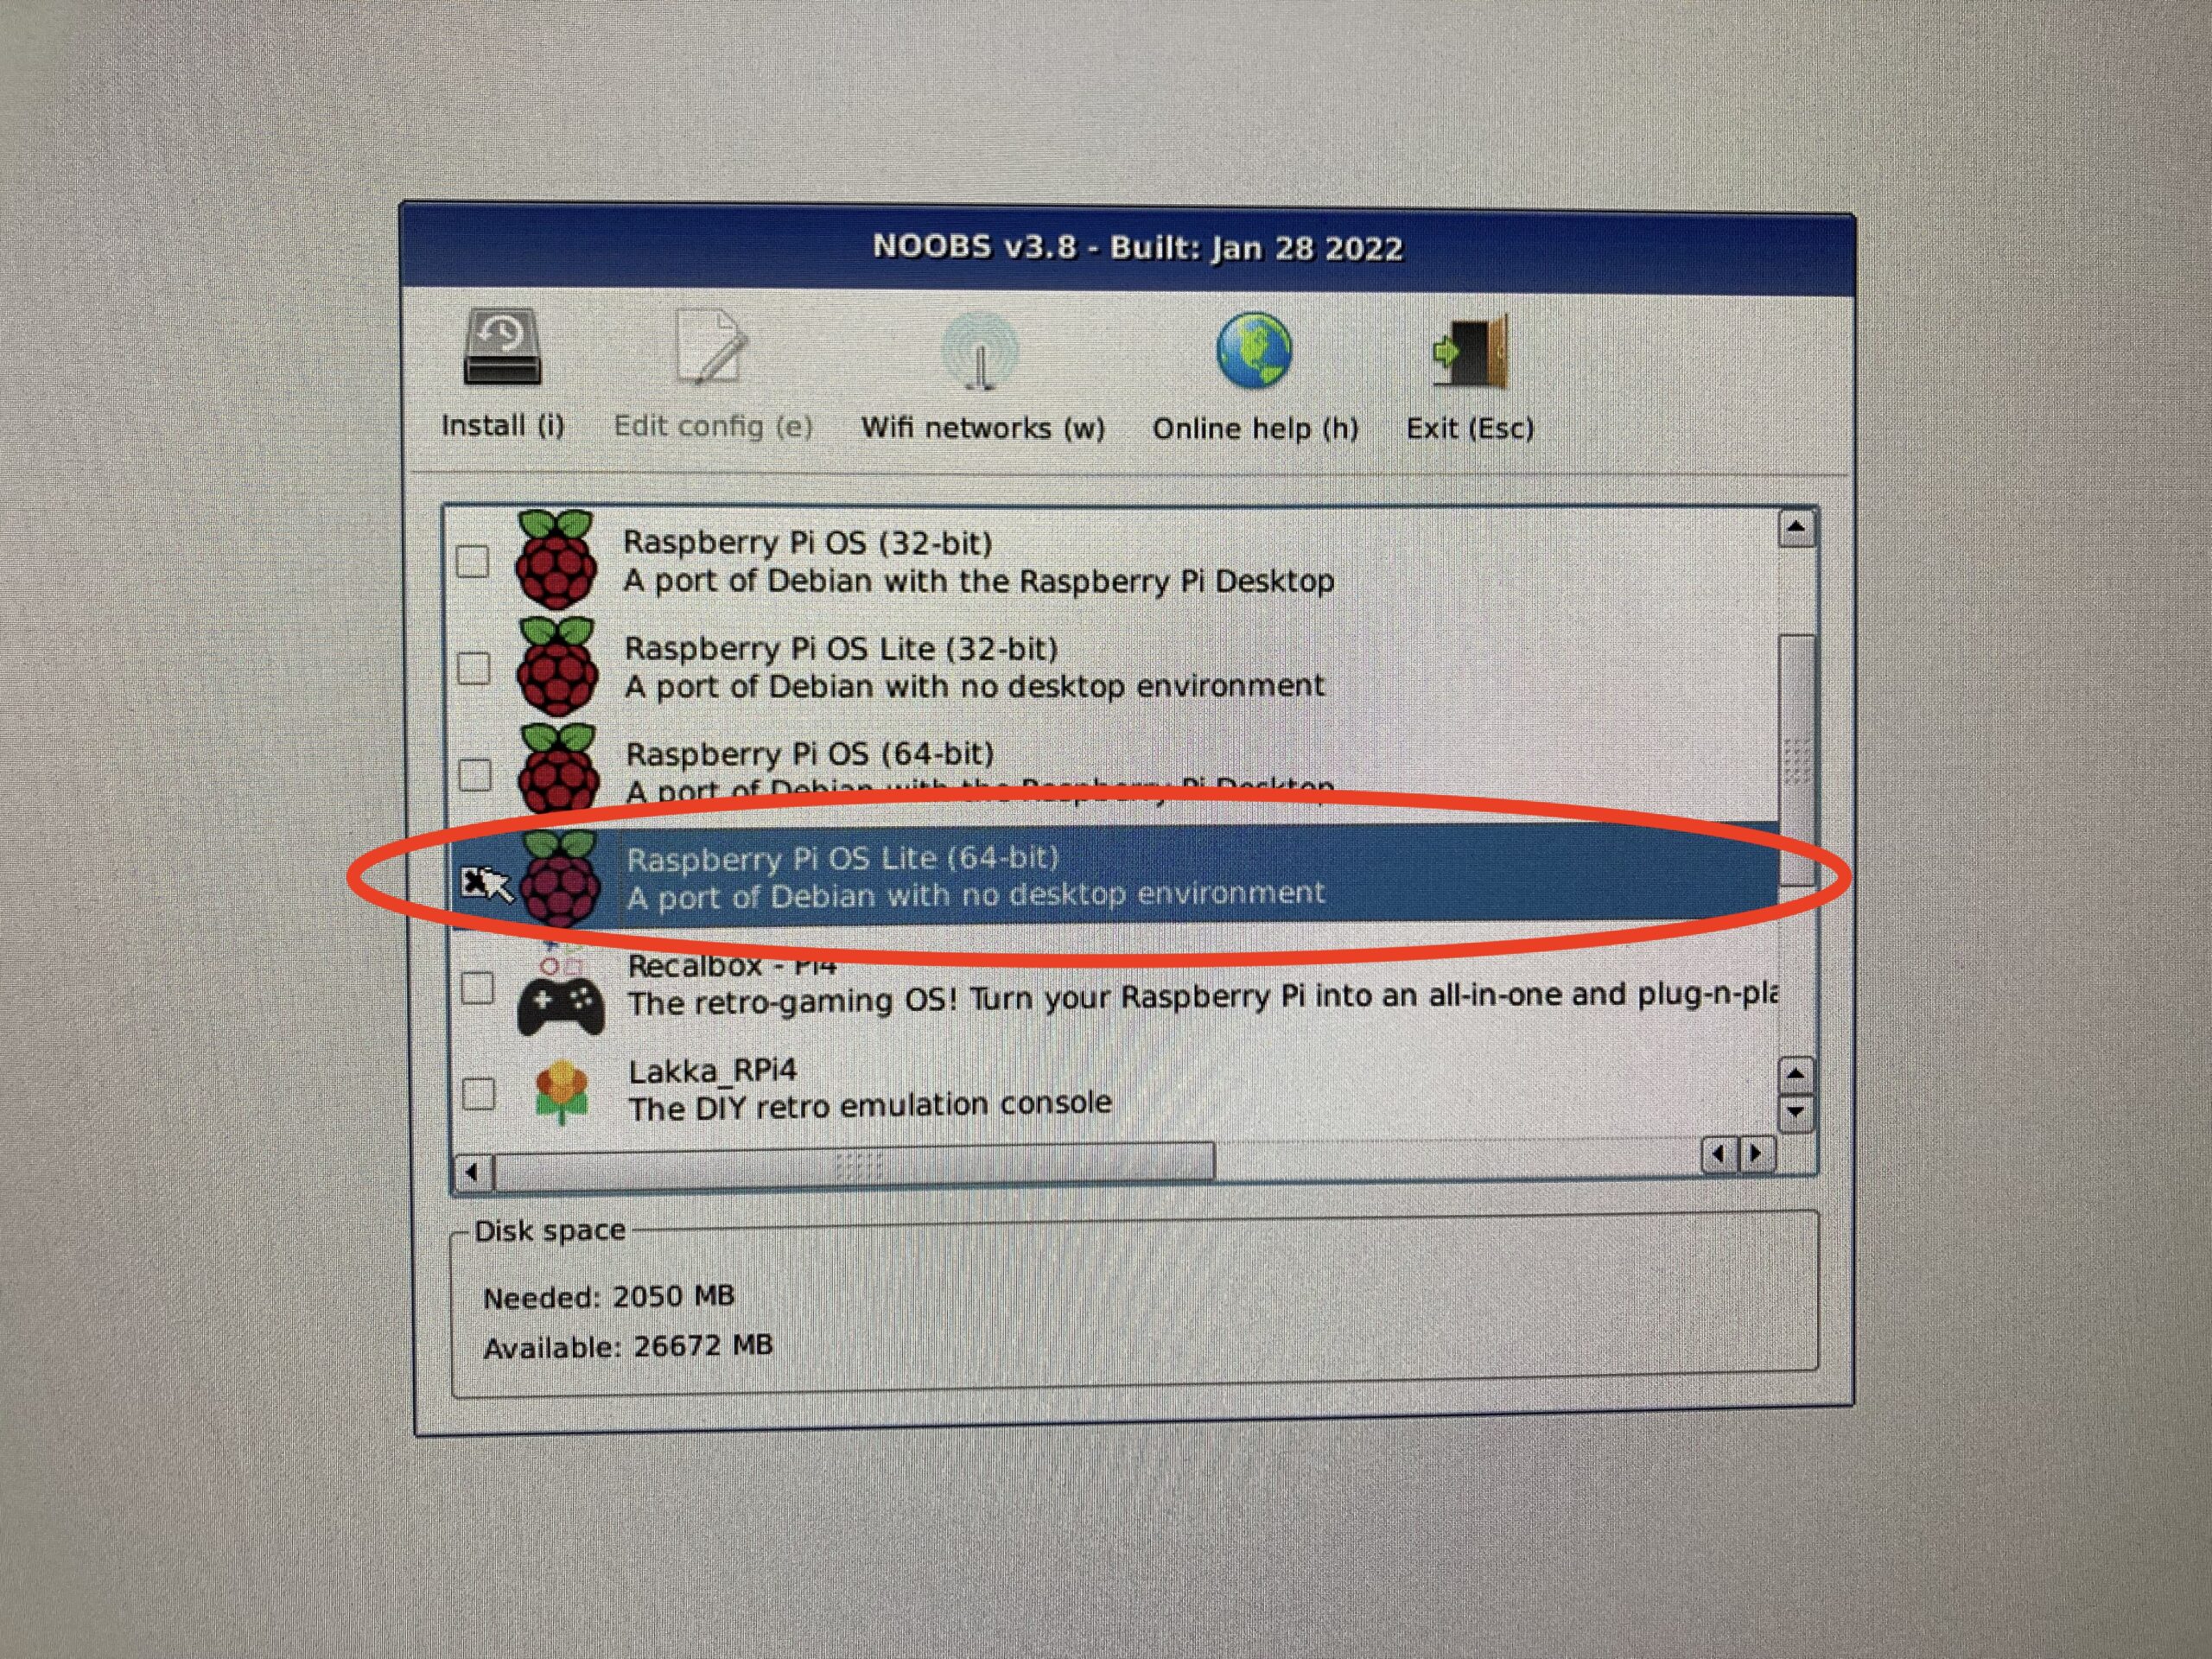
- Select Raspberry Pi OS Lite (64-bit),
- deselect All others
- press the Install button at the top and follow the prompts. (These devices are not very powerful so we install a lighter version of the operating system which consumes less resources thereby making the device more responsive.)
- When the installation has completed you will be prompted to reboot the device. When it reboots, you will need to perform some basic configuration
- Setup the keyboard – when you see the following screen hit the enter key to select the highlighted keyboard

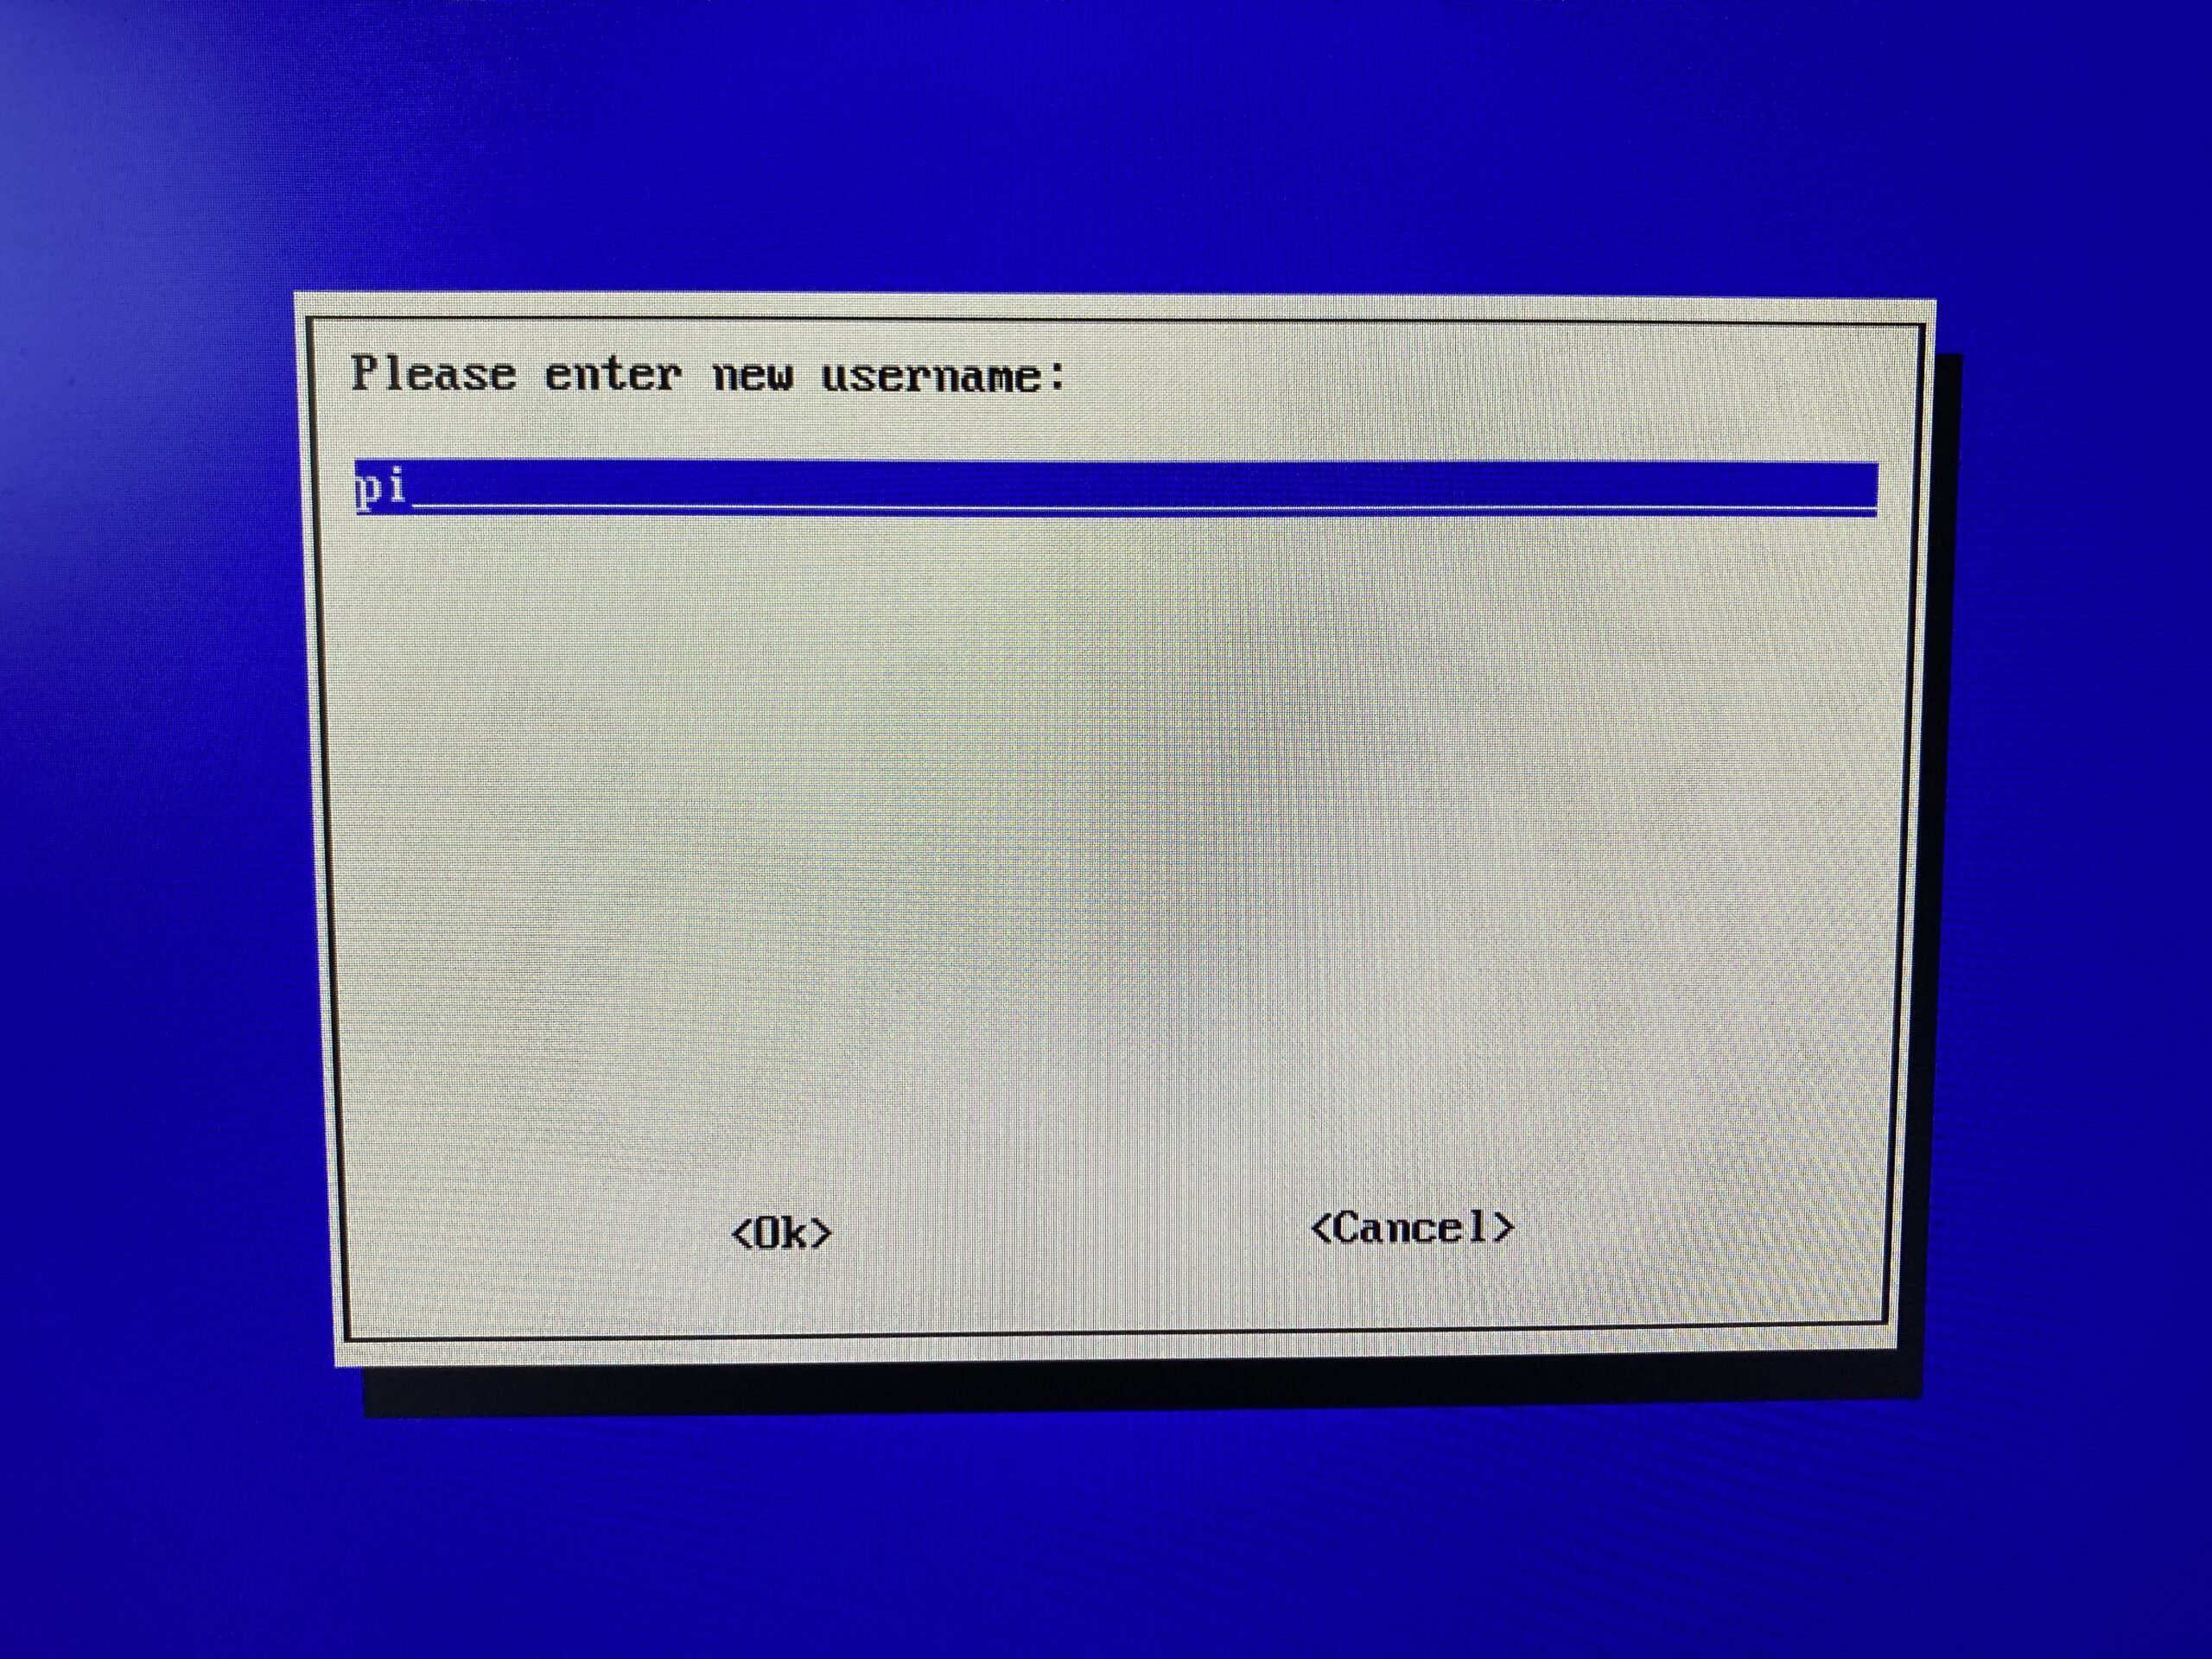
- Enter a username for the default user – type pi
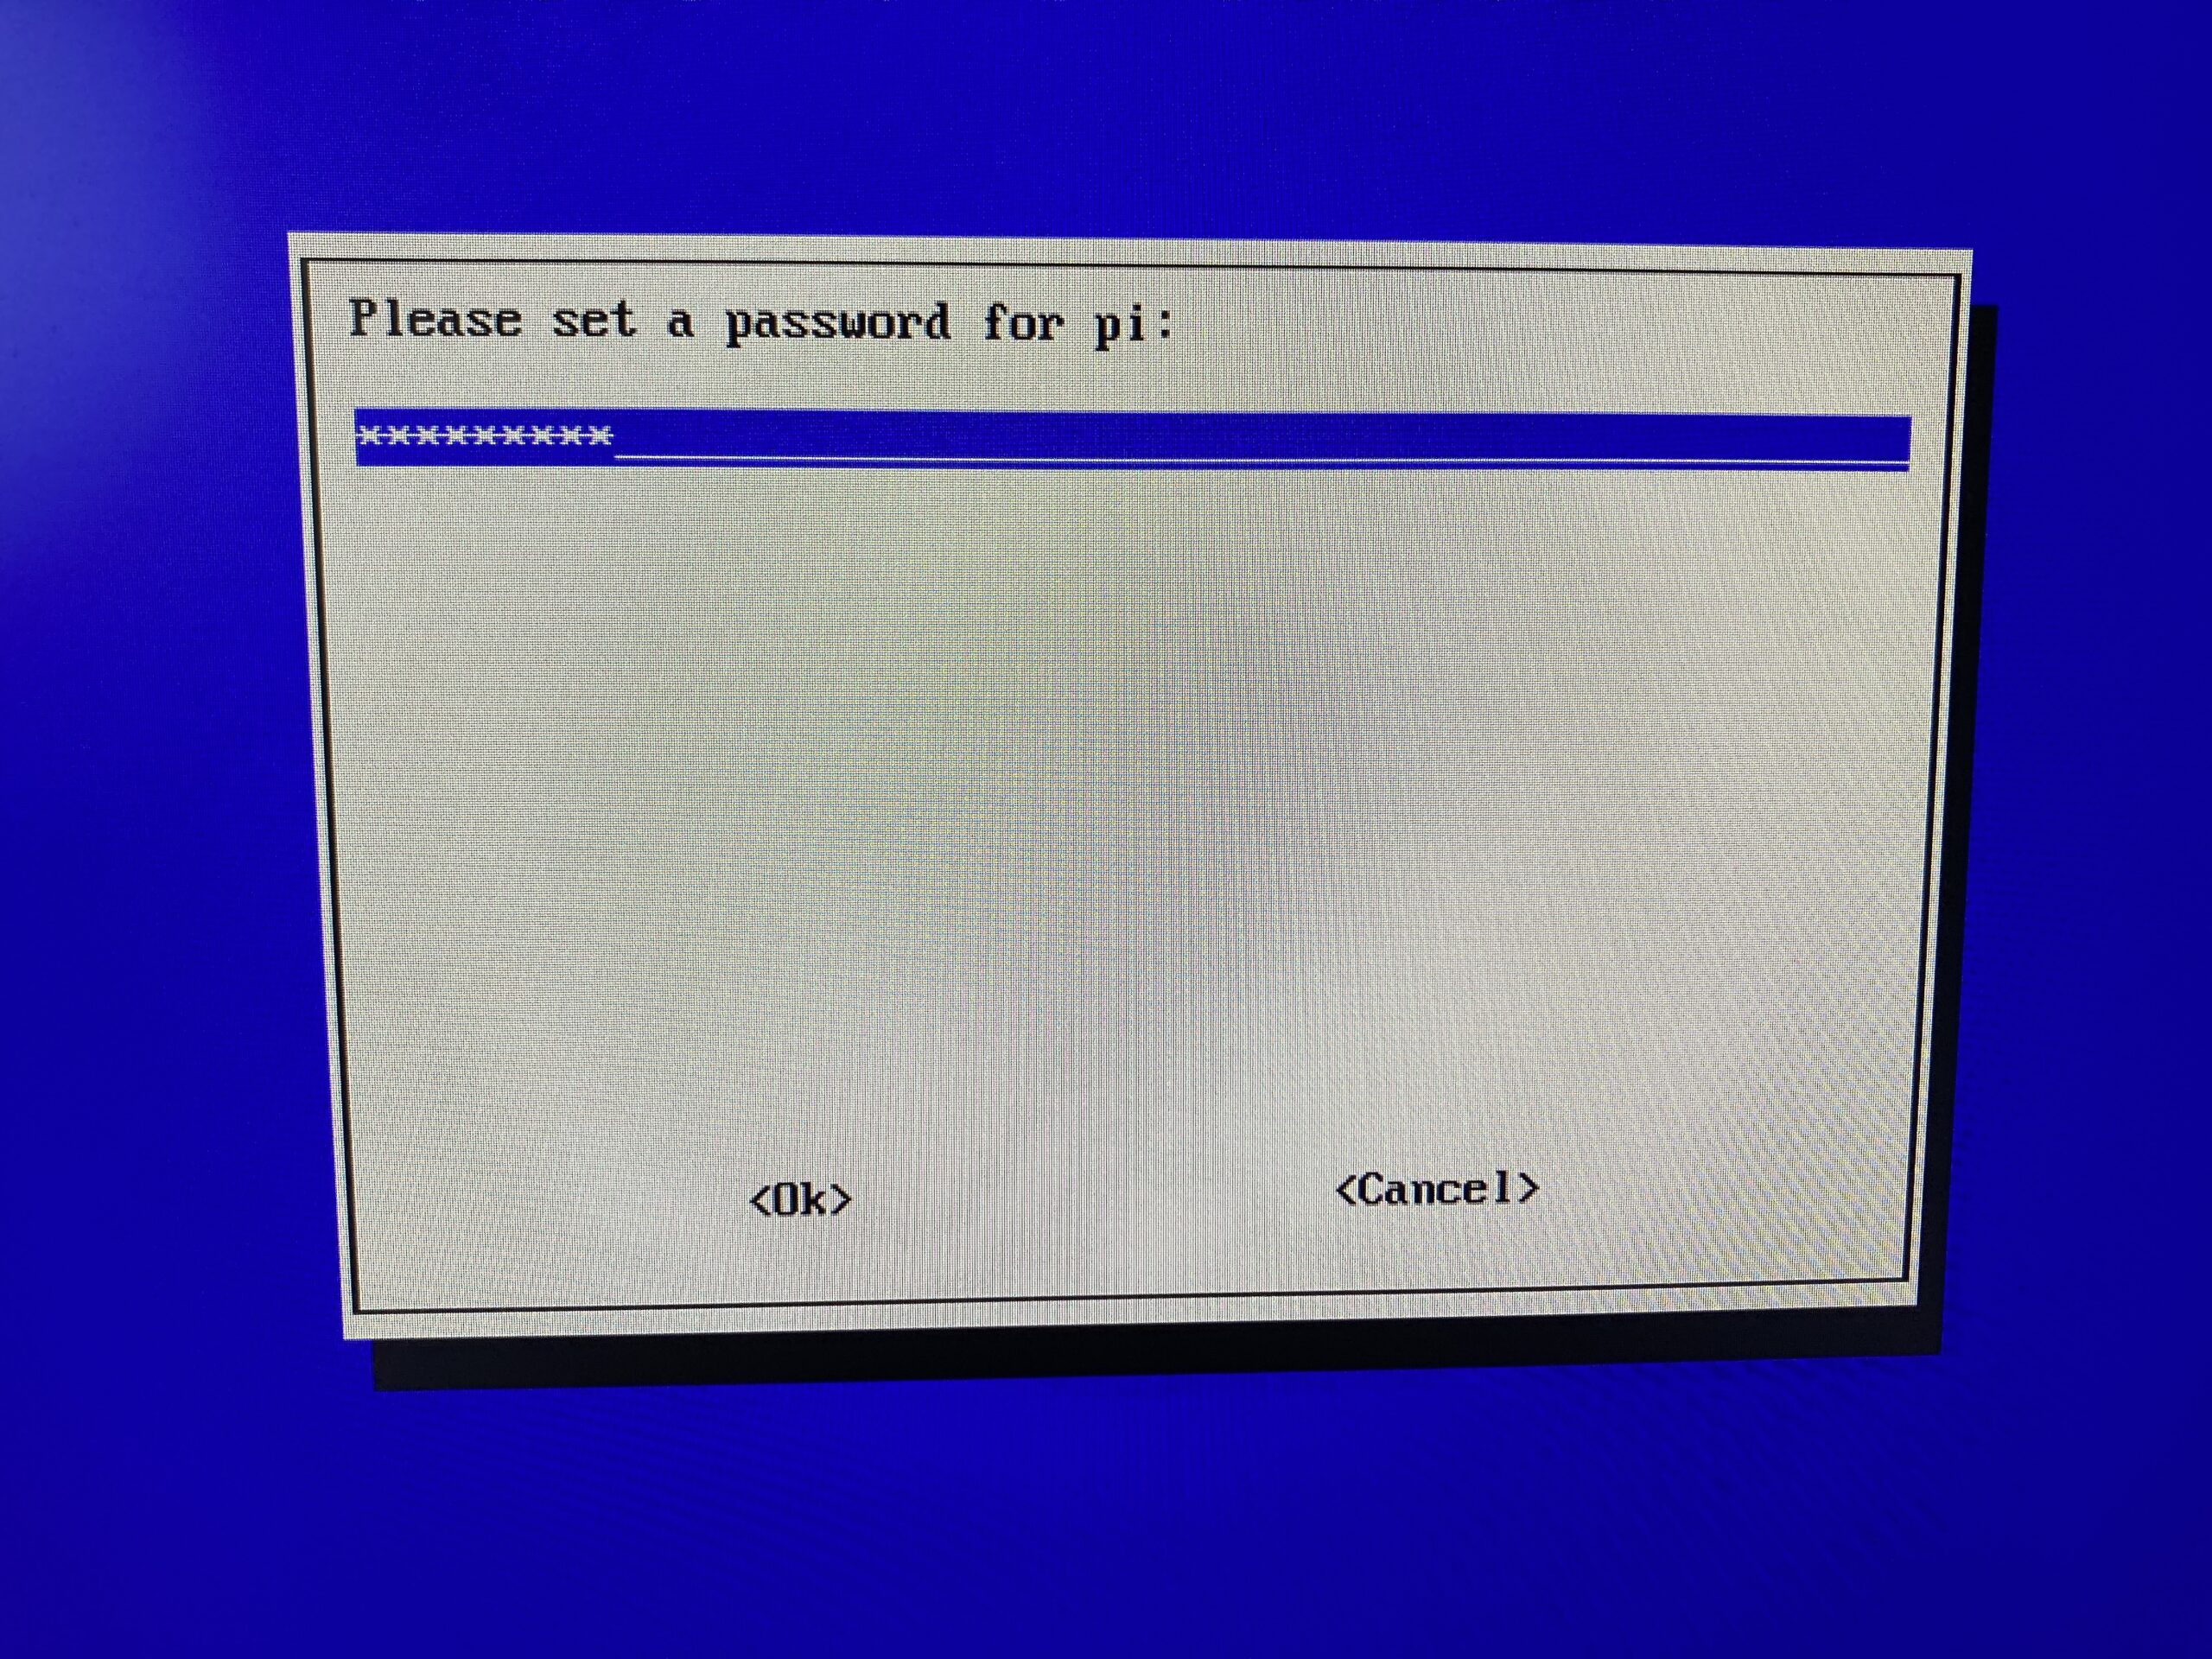
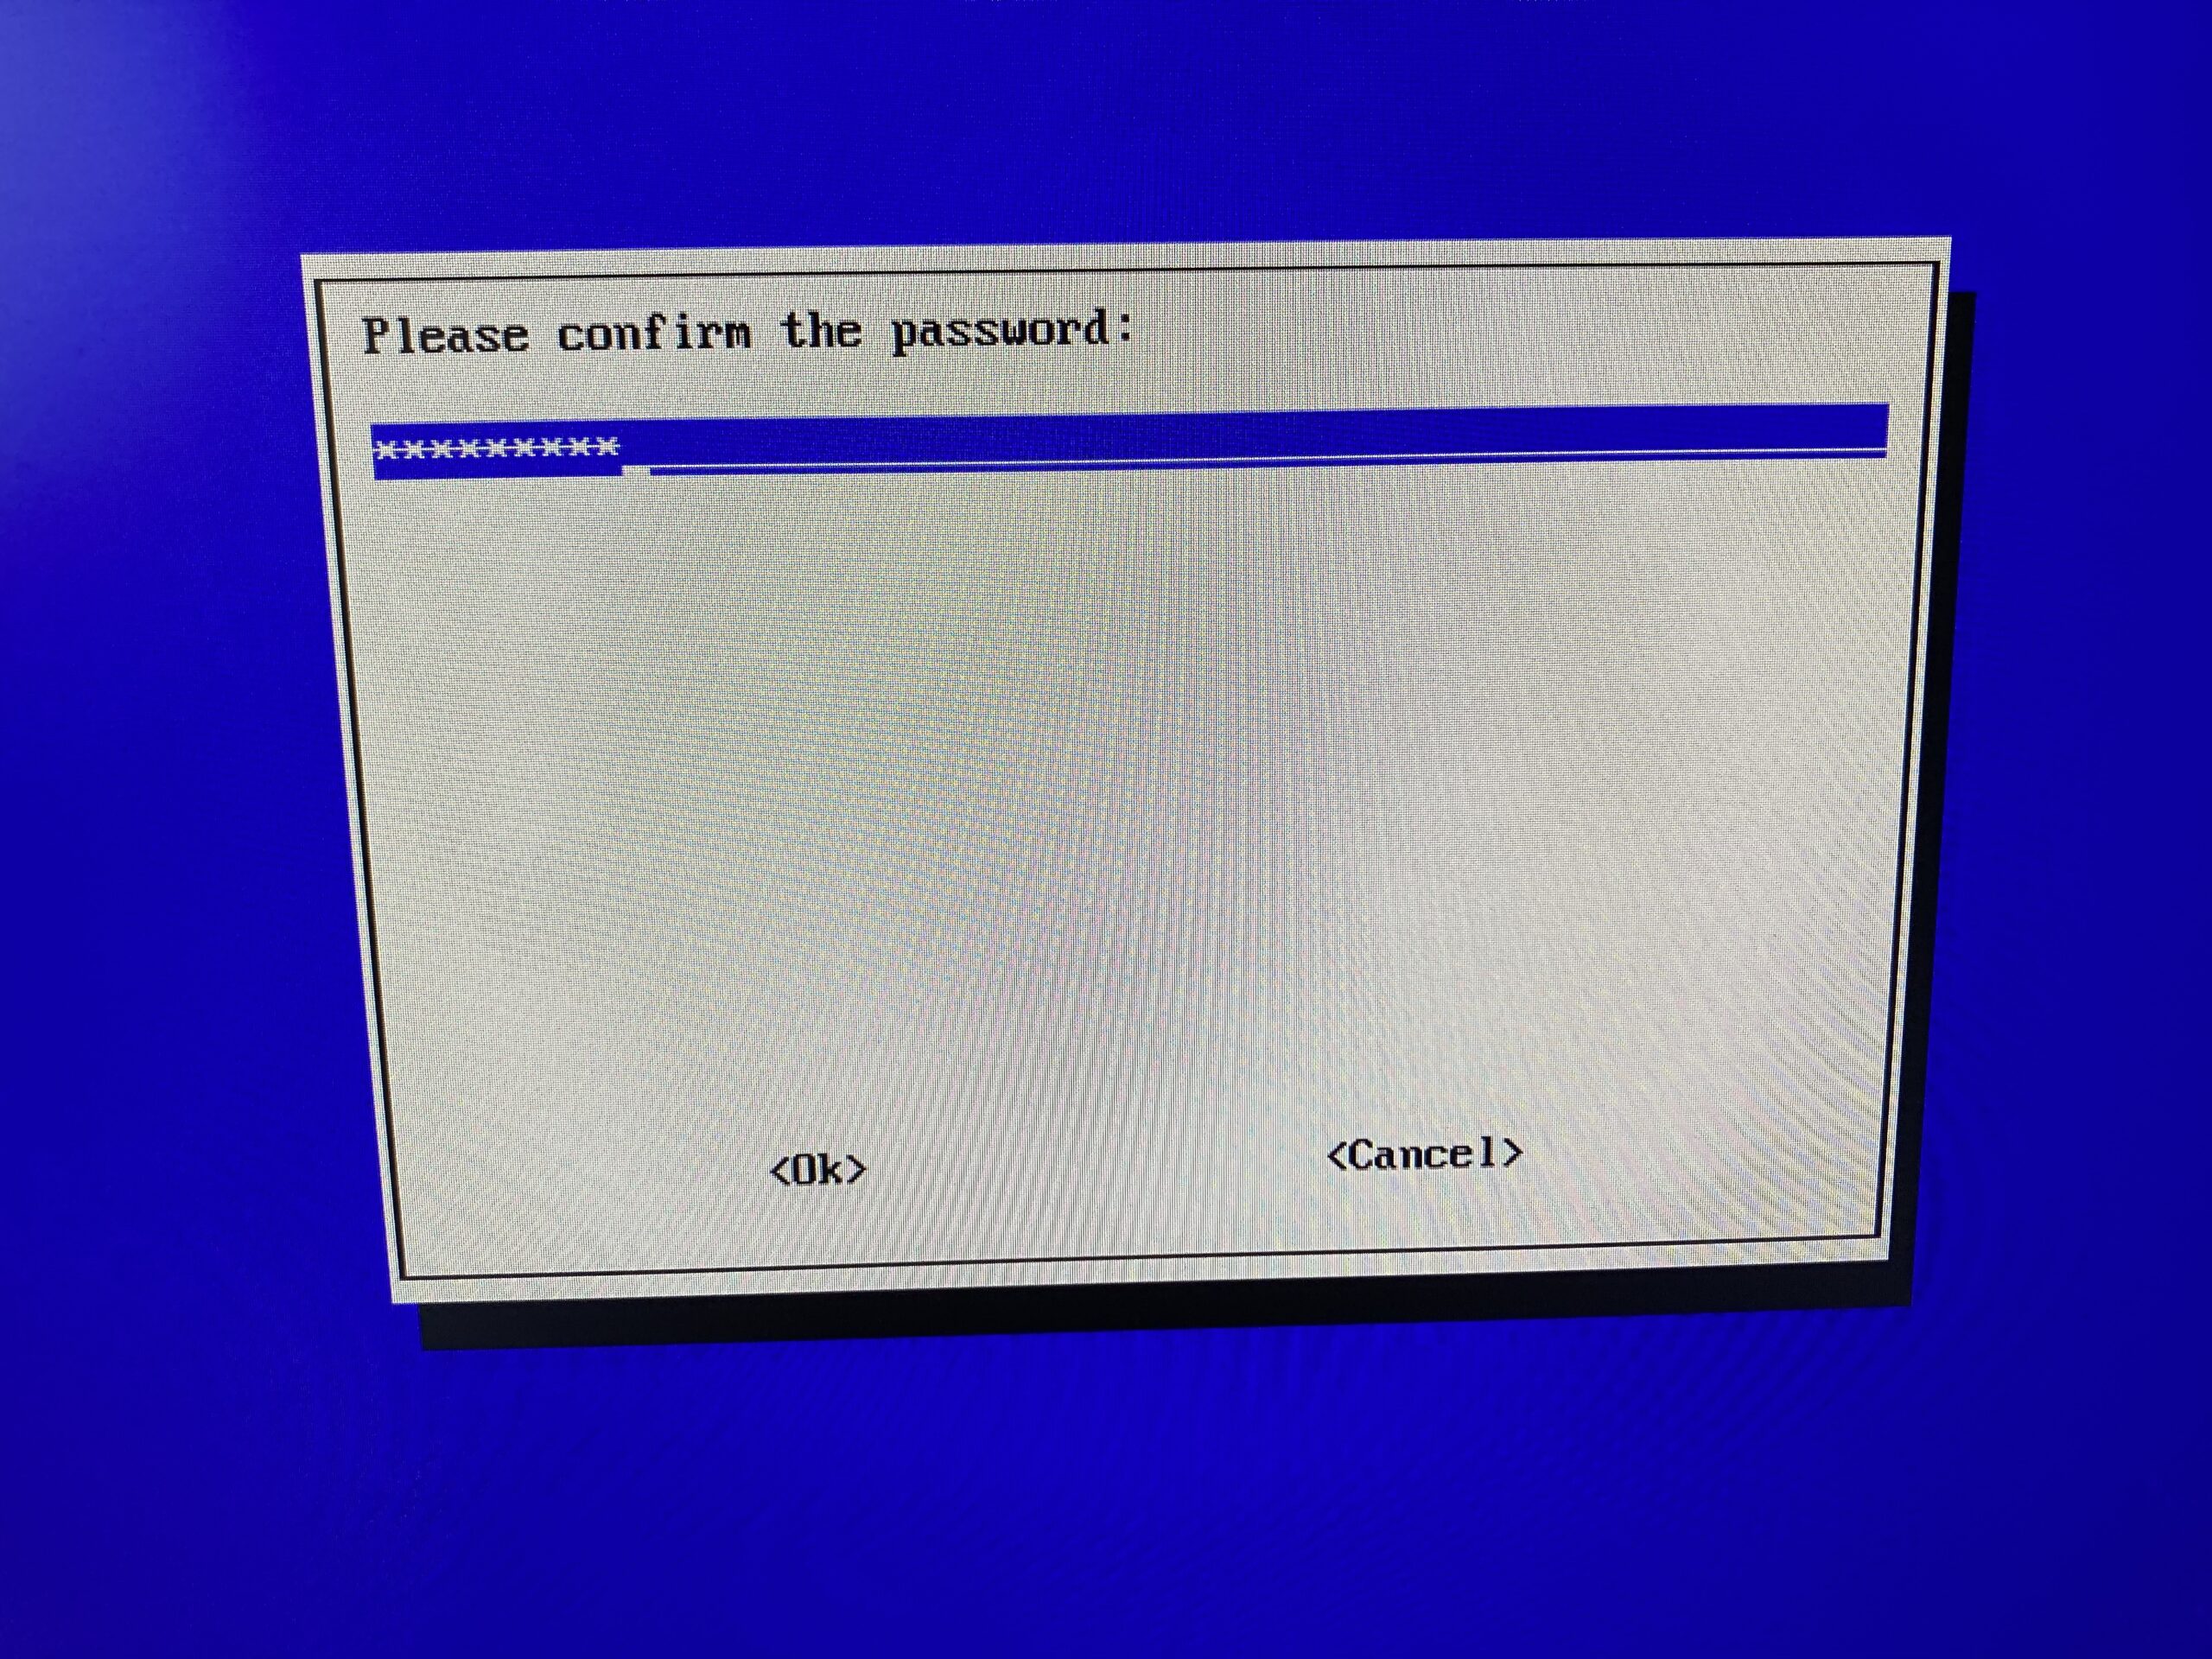
- set a password for the user: type raspberry into both of the following screens:
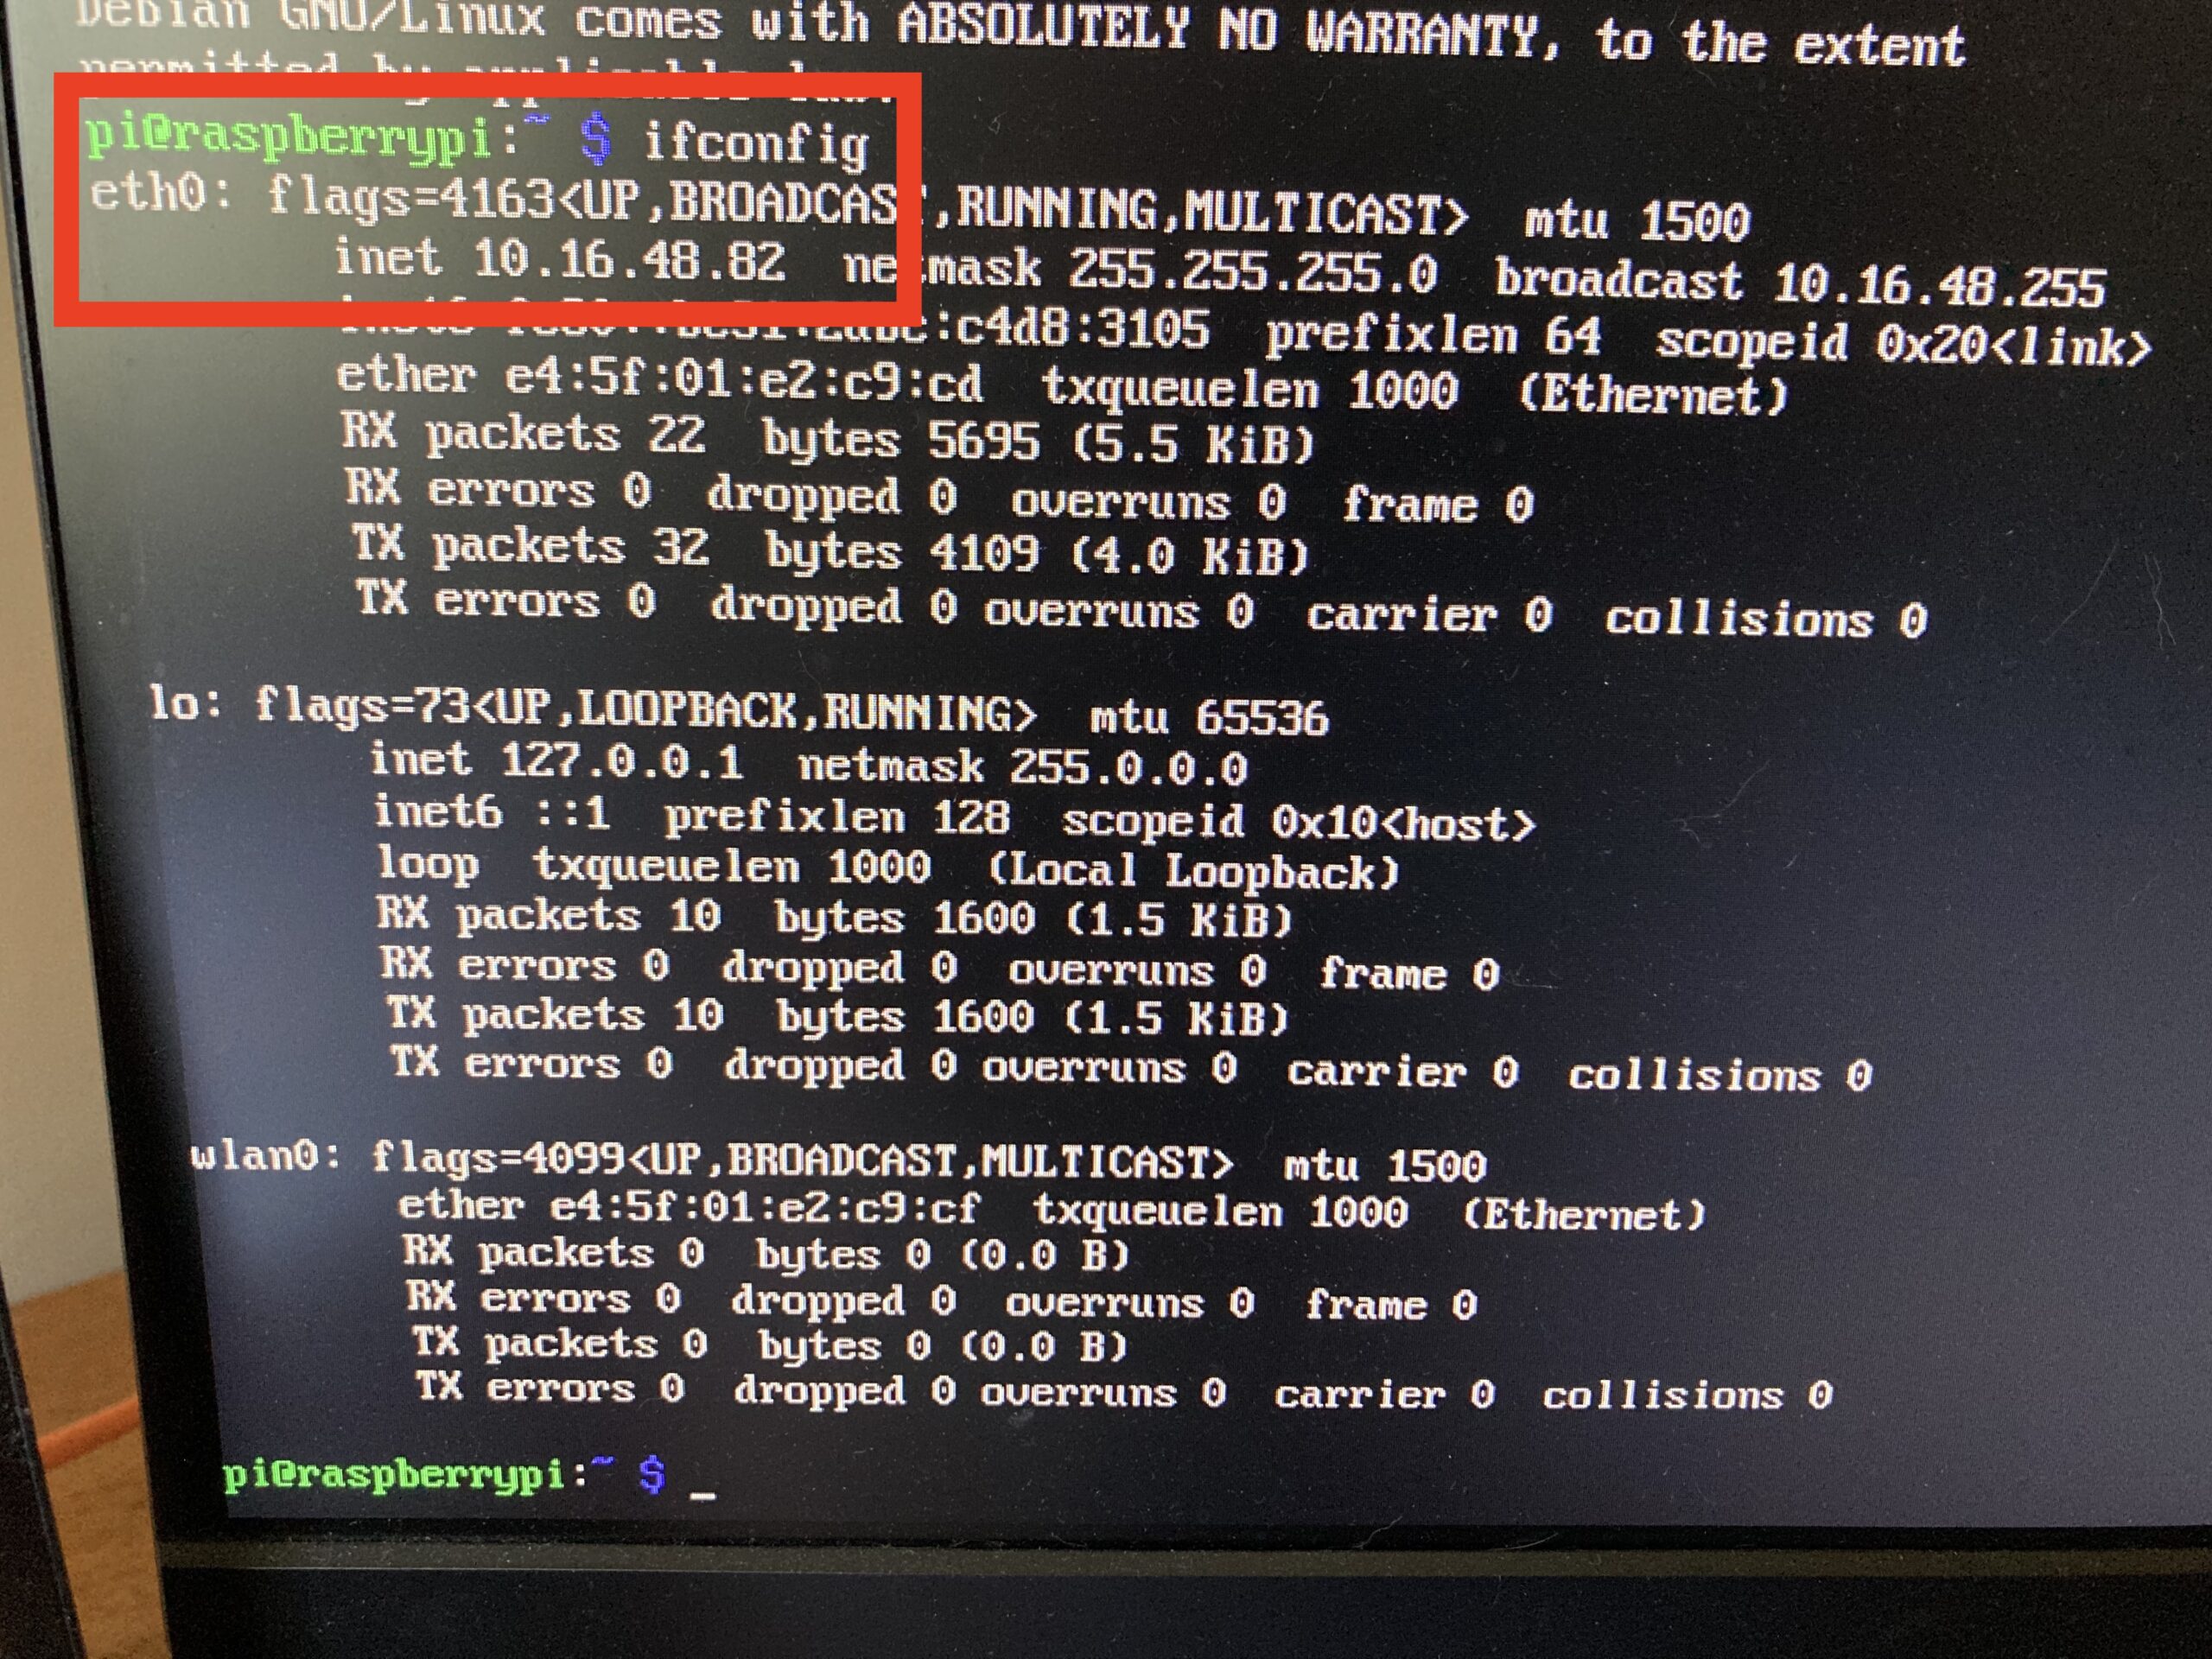
- At this point the installation will continue and you will end up at a terminal prompt where you can type the command ifconfig and press enter to see what IP address the device has received from the network. In the following image you can see the command (ifconfig) next to the prompt (pi@raspberrypi: $) and the network device (eth0) with an inet of 10.16.48.82 (the ip address).
- Type the command sudo systemctl start ssh and press enter.
One Time Device Configuration
At this point, you can SSH to the device (ssh -A pi@{IP ADDRESS FROM ABOVE}) from your normal machine or continue working locally. Either way, the next step is to configure the device as a WIFI access point with the following commands (type each command – each line – exactly as it is written and press enter after each step to run it).
You can also run the following commands by typing them directly on the pi after logging in as described above.
sudo bash -c 'echo "nameserver 1.1.1.1" > /etc/resolv.conf'
curl --silent --output /tmp/setup-pi.sh https://language-archives.services/downloads/setup-pi.sh
sudo bash /tmp/setup-pi.sh
Loading data
At this point you can fire up the data loader and load some data onto the USB disk. See the data loader documentation for more information.
Cite as: La Rosa, Marco & Nick Thieberger. 2020. Raspberry Pi as a Repatriation Device. https://language-archives.services/about/pi/